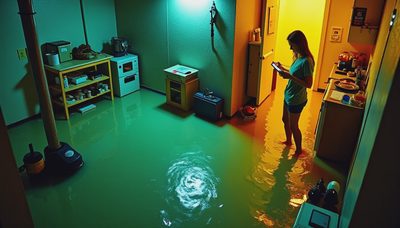
Storm damage restoration can feel overwhelming when water is entering through a roof, siding is hanging loose, or broken windows leave rooms exposed. The right first steps protect your home, preserve evidence, and make an insurance claim easier to manage. Before hiring the first contractor who knocks on your door, focus on safety, documentation, temporary protection, and a clear repair plan.
A storm can affect more than the most obvious area. Wind may lift shingles without creating an indoor leak. Hail can bruise roofing materials, crack window screens, dent gutters, and leave small marks on siding. Those problems may become expensive after the next rain or freeze, so a careful inspection is more valuable than a quick visual glance from the driveway.
Start with safety and temporary protection
Do not climb onto a wet or damaged roof after a storm. Stay away from sagging ceilings, exposed wiring, shattered glass, and rooms with standing water near electrical outlets. If the structure appears unstable, leave the property and contact emergency services or a qualified professional.
Once the area is safe, reduce additional damage without making permanent repairs. Place a tarp over a small roof opening if it can be done safely from the ground or by a professional. Move furniture away from leaks, use buckets for active drips, and take reasonable steps to keep water from spreading. Save receipts for tarps, emergency board-up work, water extraction, and other necessary expenses.
Insurance policies often require homeowners to prevent further damage after a covered event. That does not mean you should replace an entire roof before the insurer has inspected it. Temporary protection is different from permanent repair. Keep damaged materials whenever practical, because discarded shingles, broken screens, or removed siding can make the original condition harder to verify.
Document the damage before cleanup
Strong documentation is one of the most useful parts of storm damage restoration. Photograph every affected area before cleaning, moving, or repairing anything. Take wide photos that show the room or exterior location, followed by close-ups of dents, cracks, lifted shingles, stains, torn screens, damaged gutters, and fallen branches.
Create a written inventory with the date of the storm, approximate time, weather conditions, and the damage you observed. Include damaged personal property such as rugs, electronics, furniture, tools, and outdoor equipment. If water entered the home, note where it started, how far it traveled, and whether staining or bubbling appeared on ceilings and walls.
A simple folder can contain photographs, videos, receipts, contractor proposals, claim numbers, inspection reports, and emails. If your phone automatically stores photo dates, keep the original files rather than relying only on screenshots. Documentation does not guarantee coverage, but it gives the adjuster and contractor a clearer record of what happened.
Understand the repair and insurance sequence
Storm damage restoration usually follows a sequence: emergency protection, inspection, scope development, approval or claim negotiation, permanent repairs, and final documentation. The order can shift when a roof leak requires urgent work, but skipping inspection details often creates disputes later.
Notify your insurance company promptly and ask what documentation it needs. An adjuster may inspect the roof, siding, windows, gutters, and interior areas separately. Your policy’s deductible is the amount you pay toward a covered loss before insurance contributes. Coverage limits, exclusions, depreciation, and the cause of damage can affect the final payment, so read the relevant policy language instead of relying on a contractor’s promise.
A contractor can identify damage and prepare an estimate, but the contractor should not guarantee that an insurer will approve the claim or tell you what coverage your policy provides. You have the right to ask questions and obtain your own repair estimates. If the damage is extensive or the claim becomes disputed, a licensed public adjuster or attorney may be appropriate, although their fees and role should be understood before signing.
Compare contractors without pressure
Good storm damage restoration contractors explain what they found, separate emergency work from permanent repairs, and provide a written scope. The proposal should identify materials, quantities, labor, disposal, permits when applicable, ventilation work, flashing, underlayment, trim, and cleanup. A low bid that leaves out flashing or proper roof-edge work may not be a real bargain.
Ask for proof of general liability insurance and workers’ compensation coverage, along with a physical business address and references for comparable projects. Verify licenses where your state or local authority requires them. Established companies such as Owens Corning or GAF-certified roofing contractors may offer manufacturer-related credentials, but certification is not a substitute for checking the actual contractor’s contract, insurance, and workmanship terms.
Be cautious when someone demands a large cash deposit, pressures you to sign immediately, or offers to waive your deductible. A contractor should not ask you to misrepresent damage or inflate an invoice. Take time to compare at least two written proposals when conditions allow, and never sign a contract with blank sections.
Repair, replace, or wait?
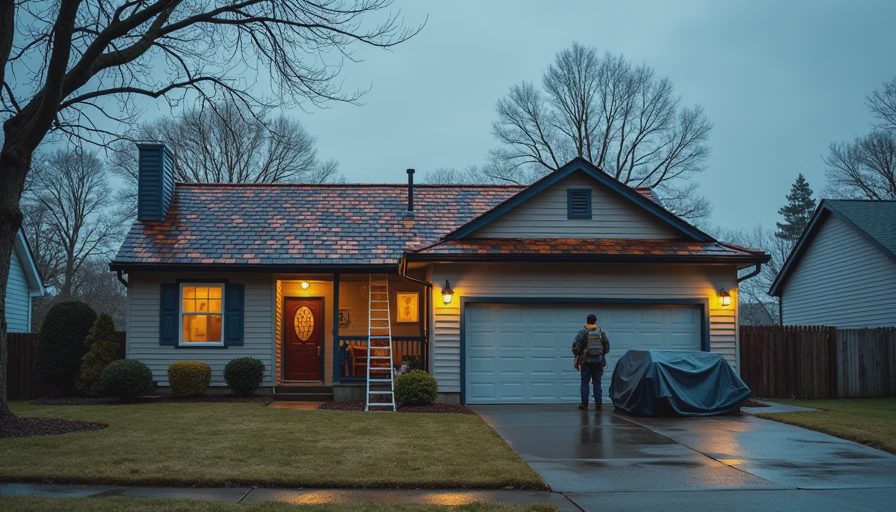
Not every storm mark requires full replacement. A few damaged siding panels may be repairable if matching material is available. A window screen can often be replaced without replacing the window. However, widespread hail bruising, cracked seals, missing roof components, or water intrusion behind siding can justify a larger project.
Ask the contractor to show you the damage and explain the repair boundary. For example, a roof estimate should address whether the affected area can be integrated with existing shingles, whether the roof has reached the end of its service life, and whether decking or flashing is compromised. For gutters, ask whether dents affect drainage and whether downspouts still discharge water away from the foundation.
Storm damage restoration should solve the cause of the problem, not just hide its visible symptoms. Painting over a ceiling stain without finding the leak, or replacing a few shingles without correcting damaged flashing, can lead to repeat damage and another costly service call.
What to include in a restoration contract
A useful contract states the property address, scope of work, materials, estimated start and completion dates, payment schedule, warranty terms, cleanup responsibilities, and procedures for changes. It should explain who handles permits, inspections, debris removal, and supplements if hidden damage is found after work begins.
Avoid paying the entire balance before completion. A common arrangement includes a modest deposit for materials, progress payments tied to completed stages, and final payment after the work passes inspection and the site is cleaned. Confirm that the contractor will provide invoices and photos that you can send to the insurer.
Before the final payment, walk around the property in daylight. Check attic areas for moisture, ceilings for new staining, window operation, siding alignment, gutter flow, flashing, vents, and landscaping damage. Keep warranty documents and proof of payment with your claim file.
A practical storm recovery checklist
First, protect people and avoid unsafe areas. Second, photograph and video the damage before cleanup. Third, contact your insurer and ask about claim procedures, deductible, and emergency expenses. Fourth, arrange temporary protection and save every receipt. Fifth, collect detailed proposals from qualified contractors. Sixth, compare the scope rather than only the total price. Seventh, approve permanent work in writing and monitor each stage.
If a contractor’s estimate and the insurer’s estimate differ, request an item-by-item explanation. Differences often involve quantities, material grades, code-related work, ventilation, flashing, or hidden damage. Clear questions are more effective than arguing over a single total.
Professional storm damage restoration is not simply a cosmetic upgrade. It is a process for making the home weather-tight, documenting the loss, and reducing the chance of repeat problems. Start carefully, insist on written details, and choose a contractor based on safety, scope, communication, and proven workmanship rather than urgency alone.